Notebook Magic and Special Features#
The py5 library is designed to work well with Jupyter tools, including Jupyter notebook. There are included IPython magics that are useful for supporting your development and documentation efforts as well as your creative endeavors. These magics are not a part of the Python language. Think of them as meta-commands that let you communicate directly with Jupyter. Used well, they can greatly enhance your programming workflow.
To use py5 in a notebook, first import the library:
import py5_tools
import py5
You should never need to import the py5jupyter library directly.
Getting Help#
Before continuing, it is worth pointing out that you can access the docstrings for any py5 functions by appending a ? to the end of the function, or with the builtin help function.
Using the ? which something like py5.rect? temporarily displays the documentation at the bottom of the notebook window. The builtin help function puts the result in the notebook cell.
help(py5.rect)
Help on function rect in module py5:

rect(*args)
    Draws a rectangle to the screen.

    Underlying Processing method: PApplet.rect

    Methods
    -------

    You can use any of the following signatures:

     * rect(a: float, b: float, c: float, d: float, /) -> None
     * rect(a: float, b: float, c: float, d: float, r: float, /) -> None
     * rect(a: float, b: float, c: float, d: float, tl: float, tr: float, br: float, bl: float, /) -> None

    Parameters
    ----------

    a: float
        x-coordinate of the rectangle by default

    b: float
        y-coordinate of the rectangle by default

    bl: float
        radius for bottom-left corner

    br: float
        radius for bottom-right corner

    c: float
        width of the rectangle by default

    d: float
        height of the rectangle by default

    r: float
        radii for all four corners

    tl: float
        radius for top-left corner

    tr: float
        radius for top-right corner

    Notes
    -----

    Draws a rectangle to the screen. A rectangle is a four-sided shape with every
    angle at ninety degrees. By default, the first two parameters set the location
    of the upper-left corner, the third sets the width, and the fourth sets the
    height. The way these parameters are interpreted, however, may be changed with
    the `rect_mode()` function.

    To draw a rounded rectangle, add a fifth parameter, which is used as the radius
    value for all four corners.

    To use a different radius value for each corner, include eight parameters. When
    using eight parameters, the latter four set the radius of the arc at each corner
    separately, starting with the top-left corner and moving clockwise around the
    rectangle.
Pause to take a moment to appreciate that documentation, with its proper type signatures and explicit variable types. You’ll also notice the content is analogous what is in py5’s rect() reference documentation. Producing thorough and coordinated py5 docstrings and reference documentation like this took an enormous amount of work.
You’ll notice that all the usual Jupyter niceties such as tab completion work for py5. There are also Python typehints for all py5 objects.
Load IPython Magics#
Next, load the py5 magics:
%load_ext py5
These “magic” commands are like extra functionality added to what Python and Jupyter notebooks can already do.
The py5 magics all start with “py5”. The cell magics are:
As before, documentation for each is available by appending a ?, such as when you type %%py5draw? in an empty cell. The builtin help function does not work with IPython magics.
See below for demonstrations of what each does.
Running py5 on Mac Computers#
There are several known issues running py5 on macOS computers. If you use a Mac, you should read about the Mac issues before continuing. Bottom line, the %gui osx Jupyter magic is necessary to use py5 on macOS computers.
Static Sketches#
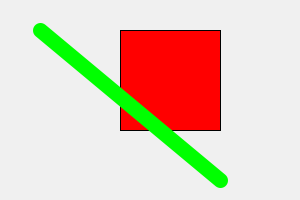
The below example creates a static image with some simple shapes.
The first line in the cell, %%py5draw 300 200, is not Python code. Instead, it is a command to Jupyter itself, instructing it to send the rest of the cell’s contents to a special py5 draw function.
Observe that there are no defined setup or draw functions.
%%py5draw 300 200

# make the background light gray
py5.background(240)

# draw a red square
py5.fill(255, 0, 0)
py5.rect_mode(py5.CENTER)
py5.rect(170, 80, 100, 100)

# add a thick green line
py5.stroke(0, 255, 0)
py5.stroke_weight(15)
py5.line(40, 30, 220, 180)
The code can access variables and functions defined in other non-magic notebook cells. This is especially useful when the code leverages py5 functionality.
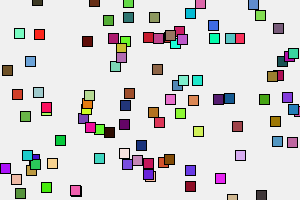
For example, the below function sets the fill color to a random color.
def pick_random_fill():
    py5.fill(py5.random(255), py5.random(255), py5.random(255))
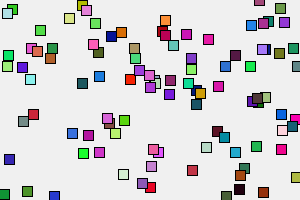
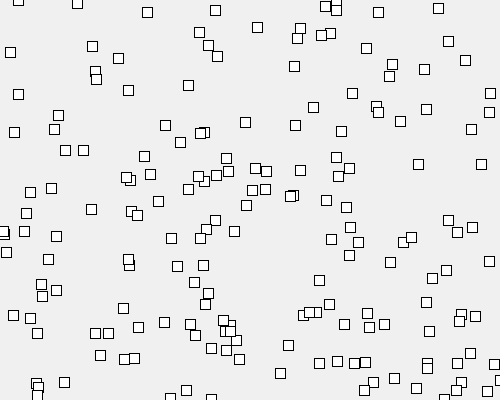
The below example uses pick_random_fill to draw randomly colored rectangles. This example is a bit contrived, but you do see how the code below can call a function defined elsewhere.
%%py5draw 300 200

py5.background(240)
py5.rect_mode(py5.CENTER)

for i in range(100):
    pick_random_fill()
    py5.rect(py5.random(py5.width), py5.random(py5.height), 10, 10)
The pick_random_fill function can be reused again elsewhere in this notebook.
By default, any new functions and variables defined in that %%py5draw cell are not available outside of the cell. However, you can explicitly change this. See below for further discussion.
Saving to a File#
If you like you can save the generated image to a file with the -f parameter, like so:
%%py5draw 300 200 -f images/jupyter_notebooks/simple_example.png

py5.background(240)
py5.rect_mode(py5.CENTER)

for i in range(100):
    pick_random_fill()
    py5.rect(py5.random(py5.width), py5.random(py5.height), 10, 10)
PNG file written to images/jupyter_notebooks/simple_example.png
Now there’s an image located at images/jupyter_notebooks/simple_example.png. You can embed that in this notebook using markdown.
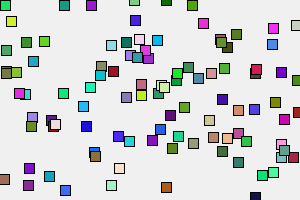
OpenGL Renderers#
You can also use the OpenGL renderers with the -r parameter, like so.
%%py5draw 300 200 -r P2D

py5.background(240)
py5.rect_mode(py5.CENTER)

for i in range(100):
    pick_random_fill()
    py5.rect(py5.random(py5.width), py5.random(py5.height), 10, 10)
When that cell runs, a py5 window is quickly opened and closed. For whatever reason, the Processing’s OpenGL renderers cannot seem to draw to an invisible window (but we’d be delighted to be proven wrong about that).
The previous %%py5draw examples in this notebook used a special HIDDEN renderer based on the default JAVA2D renderer that does not need to open a window. That HIDDEN renderer was created just for this purpose.
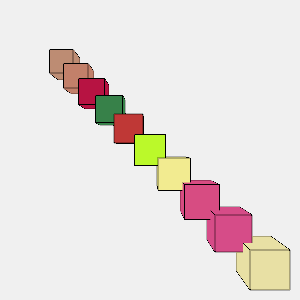
The 3D renderer also works:
%%py5draw 300 300 -r P3D

py5.background(240)

N = 10

for i in range(N):
    py5.push_matrix()
    pick_random_fill()
    py5.translate(i * py5.width / N, i * py5.width / N, i * 20 - 200)
    py5.box(40)
    py5.pop_matrix()
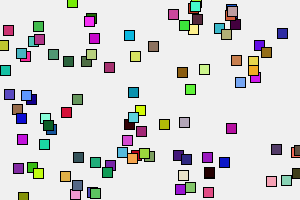
SVG Renderer#
To create SVG images, use the %%py5drawsvg magic.
As before, the result can be saved to a file with the -f parameter.
%%py5drawsvg 300 200 -f /tmp/test.svg

py5.background(240)
py5.rect_mode(py5.CENTER)

for i in range(100):
    pick_random_fill()
    py5.rect(py5.random(py5.width), py5.random(py5.height), 10, 10)
SVG drawing written to /tmp/test.svg

PDF Renderer#
Write to PDF files using %%py5drawpdf. Since Jupyter notebook does not support embedded PDF files, writing the output to a file is not optional.
%%py5drawpdf 300 200 /tmp/simple_example.pdf

py5.background(240)
py5.rect_mode(py5.CENTER)

for i in range(100):
    pick_random_fill()
    py5.rect(py5.random(py5.width), py5.random(py5.height), 10, 10)
PDF written to /tmp/simple_example.pdf
DXF Renderer#
Write 3D objects to DXF files with %%py5drawdxf. This probably won’t be a popular choice, but maybe somebody will appreciate it.
%%py5drawdxf 200 200 /tmp/test.dxf

py5.translate(py5.width / 2, py5.height / 2)
py5.rotate_x(0.4)
py5.rotate_y(0.8)
py5.box(80)
DXF written to /tmp/test.dxf
!head /tmp/test.dxf
0
SECTION
2
ENTITIES
0
3DFACE
8
0
10
-56.562515
Variable Scope#
By default, new variables defined inside cell magics such as %%py5draw cannot be accessed elsewhere in the notebook.
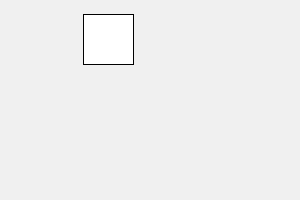
Consider the below example. It creates new variables random_x and random_y to store the location of the square.
%%py5draw 300 200

py5.background(240)
py5.rect_mode(py5.CENTER)

random_x = py5.random(py5.width)
random_y = py5.random(py5.height)
py5.rect(random_x, random_y, 50, 50)

The variables random_x and random_y are not accessible outside of that cell:
random_x, random_y
---------------------------------------------------------------------------
NameError                                 Traceback (most recent call last)
Cell In[16], line 1
----> 1 random_x, random_y

NameError: name 'random_x' is not defined
This behavior is by design.
Consider that the py5 library is using the Processing library to create these graphics. Builtin Processing objects such as PImage or PGraphics are designed to be associated with one and only one Processing Sketch. Py5 can let users write code to that subverts these assumptions, and as a result use Processing in a way that is completely different from how it was designed to be used. Sometimes this can be beneficial, but other times it will cause unexpected errors.
If you understand the risks, or if you are working with non-Processing objects (as is the case for random_x and random_y in the above example), you can use the --unsafe parameter. This lets the cell magic add new variables and functions to the notebook namespace. As the name implies, you can cause problems for yourself by using this.
%%py5draw 300 200 --unsafe

py5.background(240)
py5.rect_mode(py5.CENTER)

random_x = py5.random(py5.width)
random_y = py5.random(py5.height)
py5.rect(random_x, random_y, 50, 50)
random_x, random_y
(108.64210268967034, 39.32213330443304)
Animated Sketches#
Of course, there’s more to py5 than static Sketches. The py5 magics will support animated Sketches as well.
Note that starting your development process with static Sketches is a great way to write py5 code. For example, you can quickly develop functions for parts of your creation and test them out with static Sketches, and later use those same functions in your final animation.
Let’s create a simple example. The below setup function will tell py5 to create a 500 by 400 Sketch window. It will set the background color and set the rect mode.
def setup():
    py5.size(500, 400, py5.P2D)
    py5.background(240)
    py5.rect_mode(py5.CENTER)
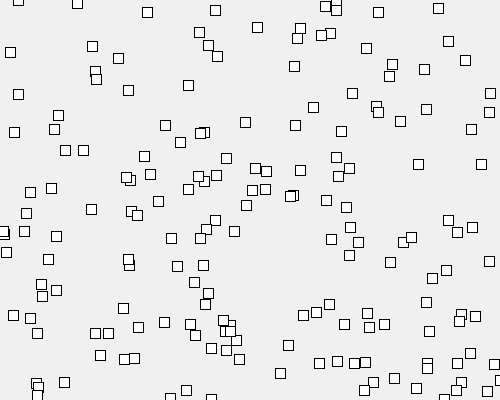
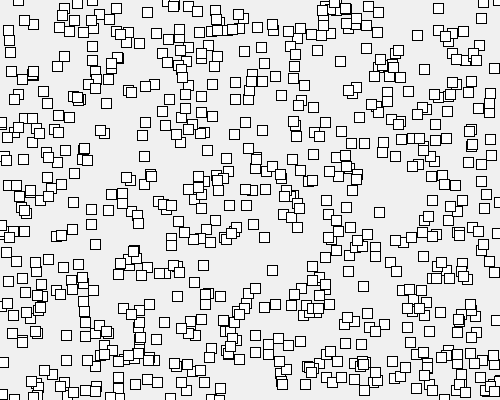
Next, the draw function to draw random squares.
def draw():
    random_x = py5.random(py5.width)
    random_y = py5.random(py5.height)
    py5.rect(random_x, random_y, 10, 10)
To run the Sketch, use the run_sketch() method. It will pull out the setup and draw functions from the notebook’s namespace and put them together in a Sketch.
py5.run_sketch()
print('the sketch is running!')
the sketch is running!
If you are running this notebook locally, you will see a new window open for the running Sketch. If you are running this through Binder, or possibly using the documentation website’s Live Code feature (see the rocket ship icon at the top of the page), the Sketch is running on a server somewhere in the cloud. In that case, to see what the Sketch is doing you will need to create some screenshots and embed them in the notebook.
By default, the run_sketch() method returns right away, as illustrated by the print statement. This enables the notebook user to continue coding, including executing code that interacts with the Sketch. The Sketch continues to run in its own window.
Screenshots#
The Sketch window cannot be embedded into the notebook, but the py5_tools.screenshot() function can grab a single snapshot of the window.
sketch_snapshot = py5_tools.screenshot()

sketch_snapshot
Observe that this function returns a frame of the Sketch as a PIL Image object.
print(type(sketch_snapshot))
<class 'PIL.Image.Image'>
The py5_tools.save_frames() function will save multiple frames to a directory.
Of course you can also call save_frame() from the draw method, but that would require you to redefine the draw method with a few extra lines of code. This is more convenient.
py5_tools.save_frames('/tmp/testframes/', start=0, limit=10)
Those frames can be assembled into a video file.
The py5_tools.capture_frames() function is similar to py5_tools.save_frames() except it returns the frames as a list of PIL Image objects.
frames = py5_tools.capture_frames(count=10, period=1, block=True)
frames[0]
frames[-1]
Animated GIFs#
The last magic creates animated GIFs from your Sketch. Everybody loves animated GIFs.
py5_tools.animated_gif('images/jupyter_notebooks/simple_example.gif', count=10, period=1, duration=0.5)
The animated GIF can then be embedded in a notebook markdown cell.

Print Statements#
Question: if the user’s draw method contains print statements, where does the output appear?
This would be a simple question if the run_sketch() method did not return right away (which you could achieve by passing the parameter block=False). The print statements would always go into the output of the cell with the call to that method. When the Sketch exits, the output for that cell would be complete.
By default, the run_sketch() method does return right away when called from a Jupyter notebook. The print statements will still go to the output of the cell with the call to that method, but when you move on to the next cell, the print statements will start to appear there instead. Why? This has to do with the inner workings of Jupyter notebooks. It gets weirder if you delete the cell that is currently receiving the output. If that happens, the print output will disappear completely.
This is less than perfect, and might frustrate users who like to debug their code with print statements. Instead, use the println() method. It will route all print statements to the output of the cell that made the call to run_sketch(). The functionality of println() can be customized with set_println_stream().
If instead you want to send messages to the Jupyter notebook log, you can always do so like this:
shell = get_ipython()
shell.log.critical('test message')
In the terminal used to run jupyter notebook, this message appears:
[IPKernelApp] CRITICAL | test message
This is a more reliable debugging technique.